







The Complete Guide to Nearpod: How to Change Lessons That Are Not Active Into Lessons That Are Engaging
Engaging a classroom in today’s world takes more than slideshows or plain lectures. Teachers need tools that turn listeners into participants. Nearpod is a platform for K-12 and higher education that does this by joining slides, live checks and media‑rich lessons in one place.
If you are using Nearpod across a school district or just want to improve your daily teaching this guide covers all the main features, how to set it up how to add it to other tools and how to solve common issues.
What Is Nearpod and How Does It Work?
Nearpod is a place for teachers to build, share and change lessons. Unlike slide programs Nearpod lets teachers control what students see during class or lets students go through the information at their speed in a self‑paced way.
Nearpod works with a system that is in sync:
-
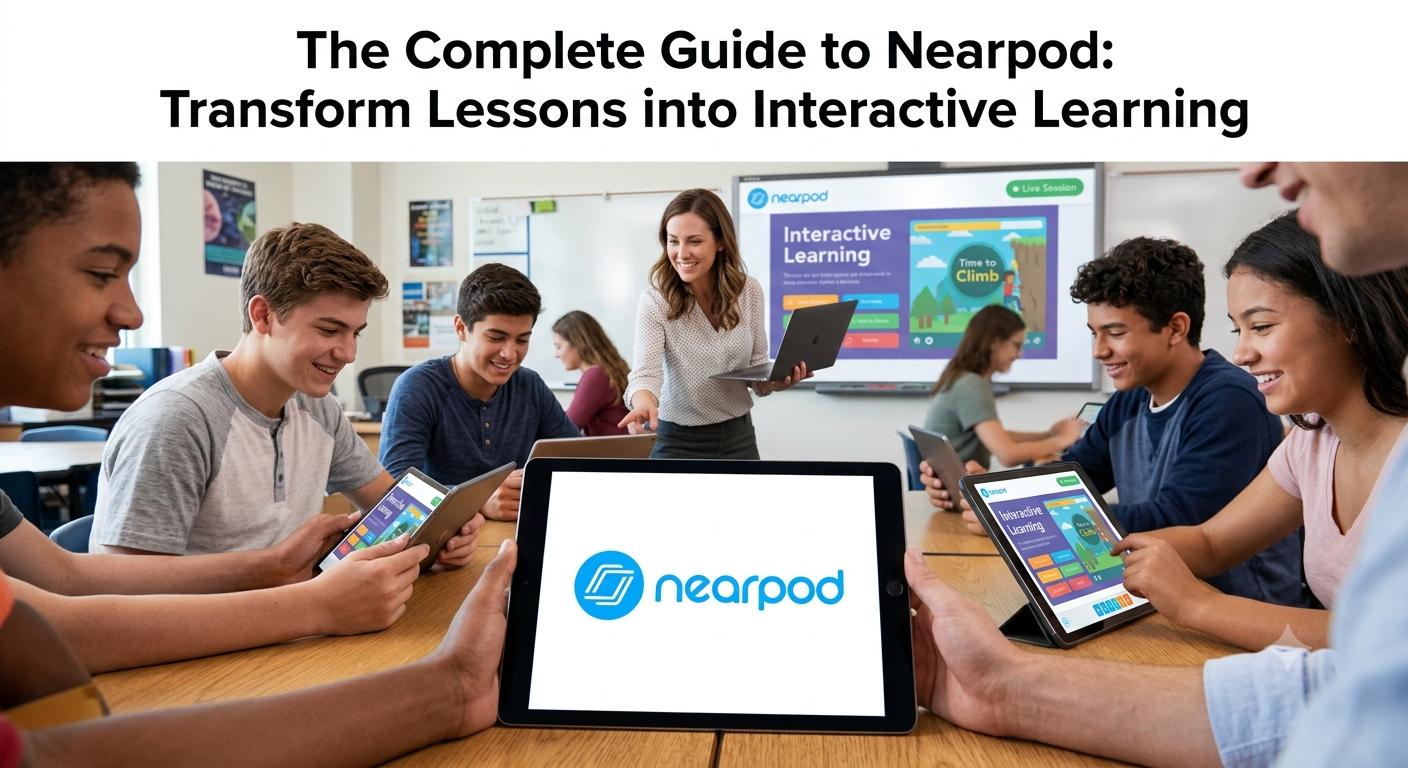
- Teacher Dashboard: The teacher starts a lesson and creates a special code. As the teacher moves through the slides the same picture appears on every student’s device at that moment.
- Student Interface: Students type the code in a browser or app; no complicated login is needed. When a slide with a quiz, poll or question appears students answer from their screens.
- Real‑Time Analytics: Answers appear directly on the teacher’s screen giving hints about how each student and the whole classre doing.
Key Features That Make Lessons More Interesting
Nearpod links teaching and checking by putting active learning tools right inside the lesson. Here are the main tools that teachers use every day:
1. Interactive Testing Tools
- Time to Climb: A game‑style quiz where students answer questions quickly to move their character up a mountain. It creates competition while checking memory.
- Draw It: A free‑form space that lets students draw diagrams highlight text solve math problems visually or mark up images.
- Collaborate Board: A wall where students add text and images. Teachers can view posts before they appear helping everyone talk in class.
- Polls & Open‑Ended Questions: Checks that collect both numbers and words without putting students on the spot.
2. Rich Media Integration
-
- Nearpod VR (Virtual Reality): Access to over 300,000 trips using 360‑degree pictures letting students visit places, environments and famous spots.
- Interactive Video: Teachers can use YouTube clips or upload their own videos and add questions at certain times so students stay involved.
- PhET Interactive Simulations: STEM games that let students change variables in math and science experiments safely online.
Nearpod Plan Tiers Compared
Picking the right account level depends on your storage needs how many students you have and how many features you need. The table below explains the account levels of Nearpod:
| Feature / Capability | Silver (Free) | Gold (Individual) | Platinum (Individual) | School / District |
|---|---|---|---|---|
| Storage Space | 100 MB | 1 GB | 5 GB | Unlimited / Custom |
| 40 students per session | 75 students per session | 90 students, per session | ||
| Live & Self‑Paced Modes | Yes | Yes | Yes |
Yes Interactive Video & VR Basic Access
Connecting the Software and Managing It as an Administrator
For district technology staff and IT administrators the way the software is arranged is very important. Nearpod works with the technology systems:
Connecting to a Learning Management System (>
Using LTI (Learning Tools Interoperability) standards Nearpod links directly to Canvas, Schoology, Google Classroom and Microsoft Teams. Teachers can provide lessons, sync rosters. Nearpod can bring scores from the platform without manual entry.
Single Sign-On (SSO)
Administrators can configure Single Sign-On with Google Workspace, ClassLink, Clever or Microsoft Entra ID ( Azure AD). This eases student login. Nearpod keeps security across district networks.
Fixing Problems with the Software and Checking the System: RCSDASSK Rules
When using education systems and monitoring tools—including district systems like RCSDASSK (Regional District Assessment & Software System Kit)—technical problems can sometimes halt live teaching. Technology staff and leaders must follow these steps to keep everything running smoothly.
1. Connection. Session Drops
If student devices struggle to connect or do not sync with the teacher’s board during a lesson:
-
- Check Network Speed: Ensure the local network provides least 2 Mbps for each device. Nearpod uses data, such as 360 VR and HD video so a steady flow is required.
- WebSocket and Firewall Rules: Verify that district firewalls allow traffic on WebSockets on ports 80 and 443. If WebSockets are blocked, real‑time activities such as Time to Climb will slow down
- Add Nearpod Domains: Add Nearpod sites (*.nearpod.com and *.firebaseio.com) and the local rcsdassk check endpoints to the network bypass list.
2. Steps to Check RCSDASSK Software
Schools that use Nearpod with district assessment setups (RCSDASSK) may encounter issues with background programs or cache problems. Follow these steps to fix software issues:
- Clean Browser Storage: Heavy web apps can corrupt browser data. Instruct users to clear data for Nearpod and the RCSDASSK dashboard or start the session in a profile.
- Check LTI Security Certificates: If Nearpod scores do not appear in RCSDASSK verify the LTI /secret pairs. Outdated security tokens between the LMS and assessment software can cause problems.
- Check Video Card Settings: Tools such as Draw It rely on browser WebGL. If student screens display boxes during activities enable hardware acceleration in browser settings. Update graphics drivers on the devices.
Best Tips for Making Students More Involved
The software is only as effective as the teaching that uses it. To maximize Nearpod in the classroom consider these ideas:
- Break Lessons Into 10‑Minute and 2‑Minute Segments: Teach for no than 10 minutes then give students 2 minutes to work on a Nearpod Draw It Collaborate Board or a quick poll to process the lesson.
- Use Student‑Paced Mode for Differentiation: Design lessons that match each student’s pace for small‑group instruction. Provide support or challenge while working with the groups.
- Use Results from Tests Immediately: Begin with a poll at the start of the lesson. Then review the reports and adjust the lesson plan to match what students already know.


2 Comments on “Nearpod Guide: Transform Lessons into Interactive Learning”